Cloud Setup ☁️ – GitHub Codespaces
Use this guide if you don’t want to install anything locally.
Codespaces gives you a free, browser-based VS Code instance with all dependencies pre-installed.
如果你不想在本地安装任何东西,就照这份指南做。Codespaces 会给出一个免费的浏览器版 VS Code 实例,所有依赖都已预装。
1. Why Codespaces?
| Benefit | What it means for you |
|---|---|
| ✅ Zero installs | Works on Chromebook, iPad, school lab PCs… |
| ✅ Pre-built dev container | Python 3, Node.js, .NET, Java already inside |
| ✅ Free quota | Personal accounts get 120 core-hours / 60 GB-hours per month |
💡 Tip
Keep your quota healthy by stopping or deleting idle codespaces
(View ▸ Command Palette ▸ Codespaces: Stop Codespace).
提示:闲置的 codespace 要及时停止或删除,以免浪费配额(菜单 View ▸ Command Palette ▸ Codespaces: Stop Codespace)。
2. Create a Codespace (one click)
- Fork this repo (top-right Fork button).
- In your fork, click Code ▸ Codespaces ▸ Create codespace on main.
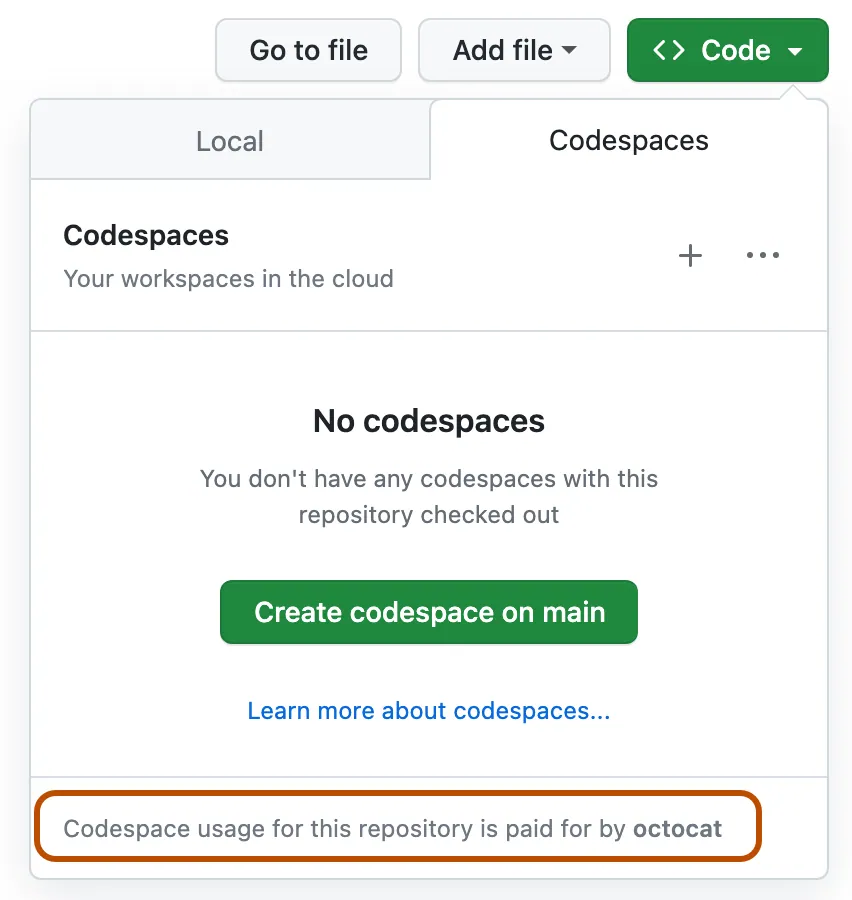
1. fork 本仓库(右上角的 Fork 按钮);2. 在自己的 fork 里点击 Code ▸ Codespaces ▸ Create codespace on main。
✅ A browser VS Code window opens and the dev container starts building. This takes ~2 minutes the first time.
浏览器里会打开一个 VS Code 窗口,开发容器随即开始构建;首次构建大约需要 2 分钟。
3. Add your API key (the safe way)
Option A Codespaces Secrets — Recommended
- ⚙️ Gear icon -> Command Pallete-> Codespaces : Manage user secret -> Add a new secret.
- Name: OPENAI_API_KEY
- Value: paste your key → Add secret
1. 点击齿轮图标 → Command Palette → Codespaces: Manage user secret → Add a new secret;2. 名称填 OPENAI_API_KEY;3. 值粘贴你的 key,再点 Add secret。
That’s it—our code will pick it up automatically.
就这样,我们的代码会自动读取这个密钥。
Option B .env file (if you really need one)
cp .env.copy .env
code .env         # fill in OPENAI_API_KEY=your_key_here