Package your plugin
For the complete documentation index, see llms.txt. Markdown versions of documentation pages are available by appending
.mdto the page URL.
After building your skills and, when needed, an MCP server, assemble those parts into the plugin people will install. Packaging gives the plugin a stable identity and tells ChatGPT and Codex which skills, MCP server connections, and other resources belong together.
Before bundling skills, review the instruction-following guidance.
For a portable Agent Plugins package, add plugin.json at the plugin root and declare the Agent Plugins schema. Depending on the plugin's architecture, its folder can also include:
- A
skills/directory containing the workflows you built. - An
mcp.jsonfile for MCP servers distributed with the plugin. - Optional assets and lifecycle hooks.
Put OpenAI-specific presentation, registered MCP server mappings, and hook settings under extensions.com.openai in root plugin.json. Existing .codex-plugin/plugin.json files remain supported as a compatibility fallback.
UI and authentication remain part of the MCP server integration you built in the preceding steps; the plugin manifest connects that integration to the rest of the package.
Public plugins are published once to the universal plugin directory shared by ChatGPT and Codex. Local and repo marketplaces are separate authoring, testing, and team-distribution sources, and their availability can vary by surface.
Use @plugin-creator for the fastest OpenAI-specific path, or create the portable manifest and folder structure manually.
For complete public examples, inspect Figma, Notion, and Build web apps.
Package with @plugin-creator
For the fastest setup, use the built-in @plugin-creator skill.
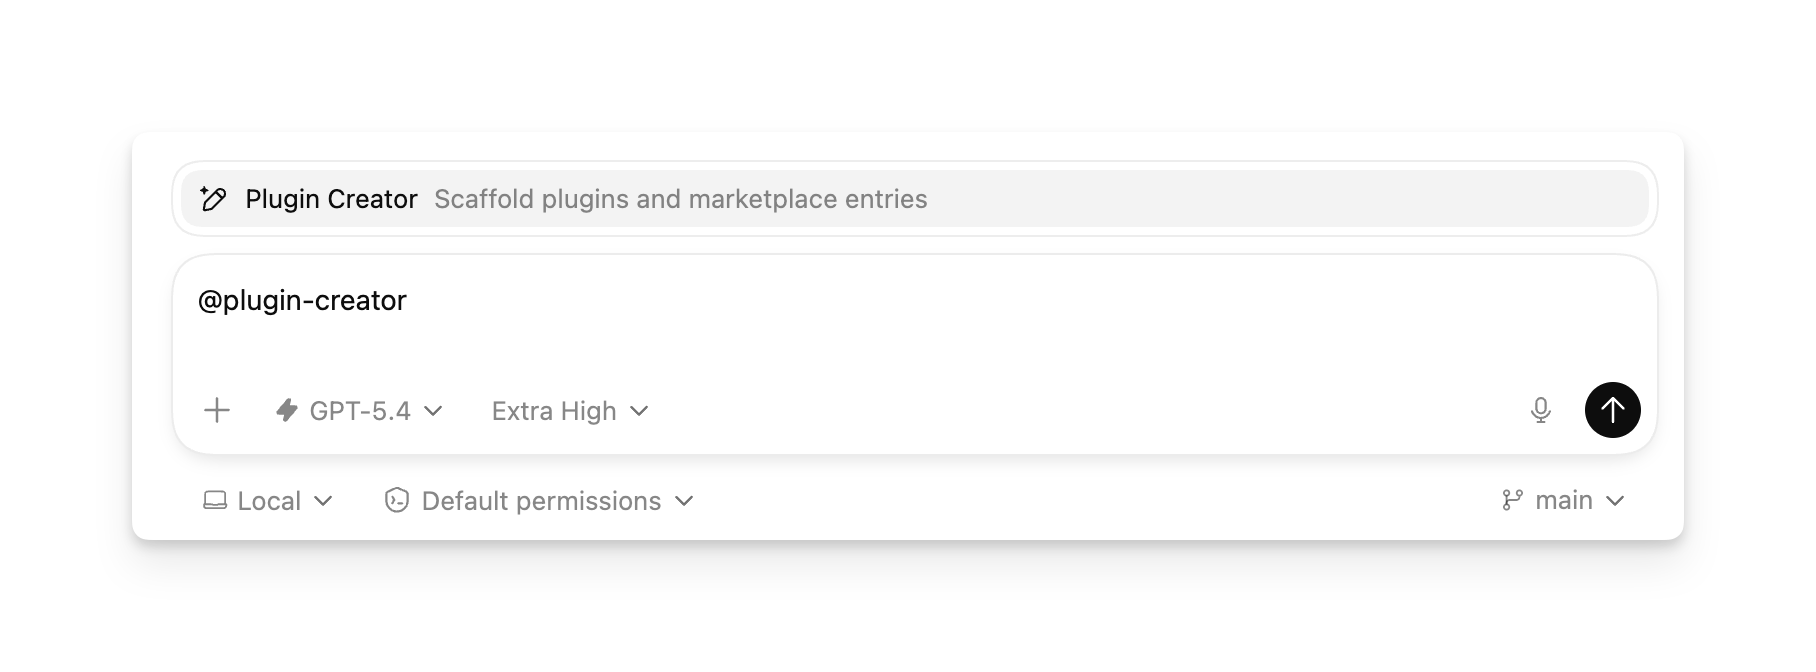
It scaffolds a supported .codex-plugin/plugin.json compatibility manifest and can also generate a local marketplace entry for testing. If you already have a plugin folder, you can still use @plugin-creator to wire it into a local marketplace.
Plugin creator output
The current scaffold uses the Codex compatibility layout, not the portable Agent Plugins layout. When you request all optional components, it can create:
my-plugin/
├── .codex-plugin/
│   └── plugin.json
├── .mcp.json
├── .app.json
├── skills/
├── hooks/
├── scripts/
└── assets/
Only .codex-plugin/plugin.json is always created. The other files and directories are optional. .mcp.json starts with an empty mcpServers object, and .app.json starts with an empty apps object. The manifest references these files when requested. It also declares skills: "./skills/"; add your skill folders there before testing a skills-based plugin.
Requesting hooks creates an empty hooks/ directory, not a hook configuration or executable script. Add hooks/hooks.json and its scripts using the bundled hooks guidance.
The scaffold remains supported. To author a portable package, follow Create a plugin manually and use root plugin.json and mcp.json with their Agent Plugins schemas. Don't just rename .mcp.json: the portable MCP format also declares a transport type for each server.
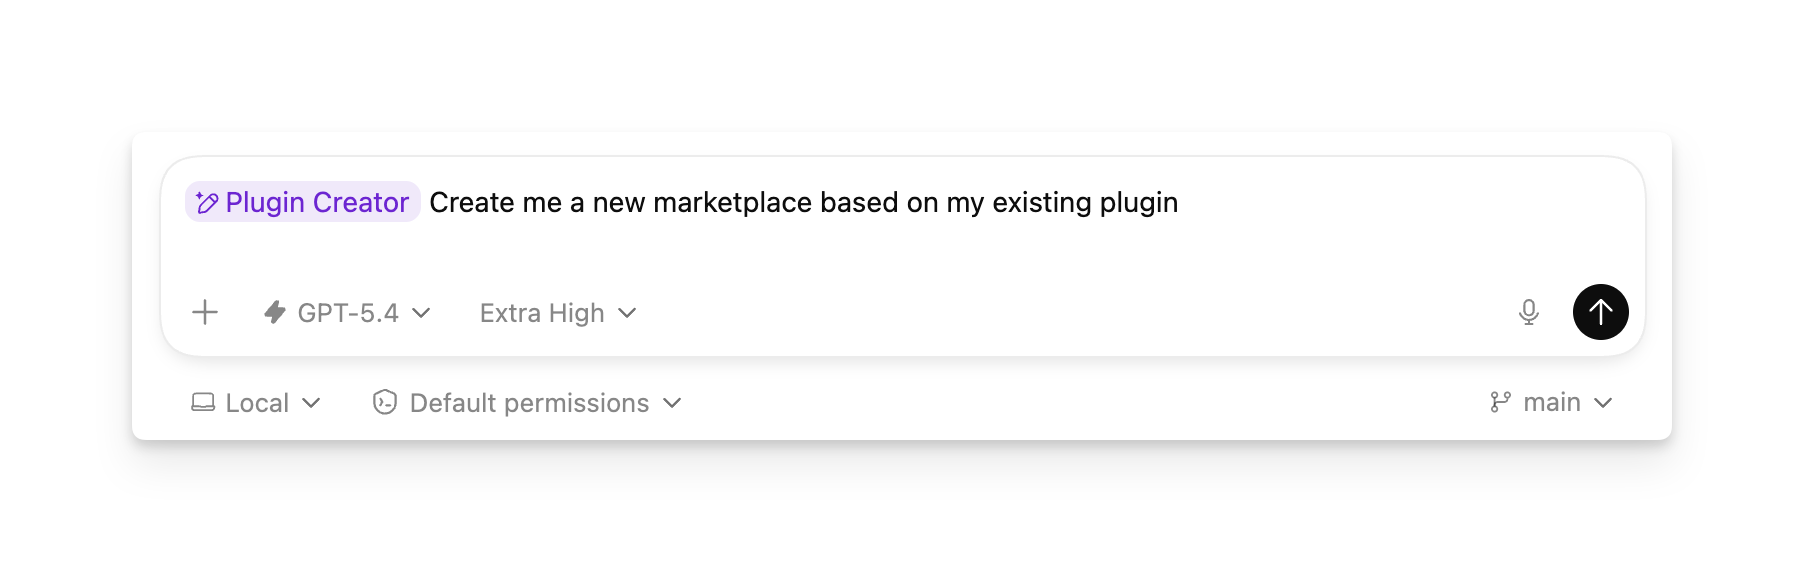
Create and test a plugin locally with an MCP server
You can also use the plugin-creator skill to test a plugin that includes an MCP server. The plugin still needs a local folder and manifest, and you first register the MCP server connection in ChatGPT developer mode.
First, enable developer mode in ChatGPT:
- Open ChatGPT.
- Open Settings.
- Select Security and login.
- Turn on Developer mode.
Then register the MCP server in developer mode:
- Go to ChatGPT Plugins.
- Select the plus button.
- Complete the modal with your MCP server URL and connection details.
- After ChatGPT creates the connection, copy its technical ID from the browser URL. It starts with
plugin_asdk_app.
Give that plugin_asdk_app... ID to @plugin-creator in Work mode in ChatGPT or $plugin-creator in Codex. For example, in Work mode:
  Plugin Creator prompt


`{`@plugin-creator create a plugin for ChatGPT and Codex using my MCP server.
Use plugin_asdk_app_6a4c0062f3b88191855c0a80eac5d53d and name it Acme Support. Include a personal marketplace entry so I can test it locally.}
The plugin-creator skill will create the plugin folder, create a supported .codex-plugin/plugin.json compatibility manifest, and add MCP server wiring for the plugin. If you ask it to create a personal marketplace entry, the plugin appears under your local source in the Plugins Directory for testing.
After the plugin-creator skill creates the plugin:
- Review
.app.jsonand confirm the registered MCP server mapping points at the correctplugin_asdk_app...ID. - Review
.codex-plugin/plugin.jsonand make sure itsappsfield points to./.app.json. - Add any bundled skills under
skills/if the plugin should include repeatable workflows alongside the MCP server. - If the skill created a personal marketplace entry, refresh ChatGPT and install the plugin from your local source in the Plugins Directory. Then test it in a new chat.
For the manifest shape and file layout, see Plugin structure and Path rules.
Build your own curated plugin list
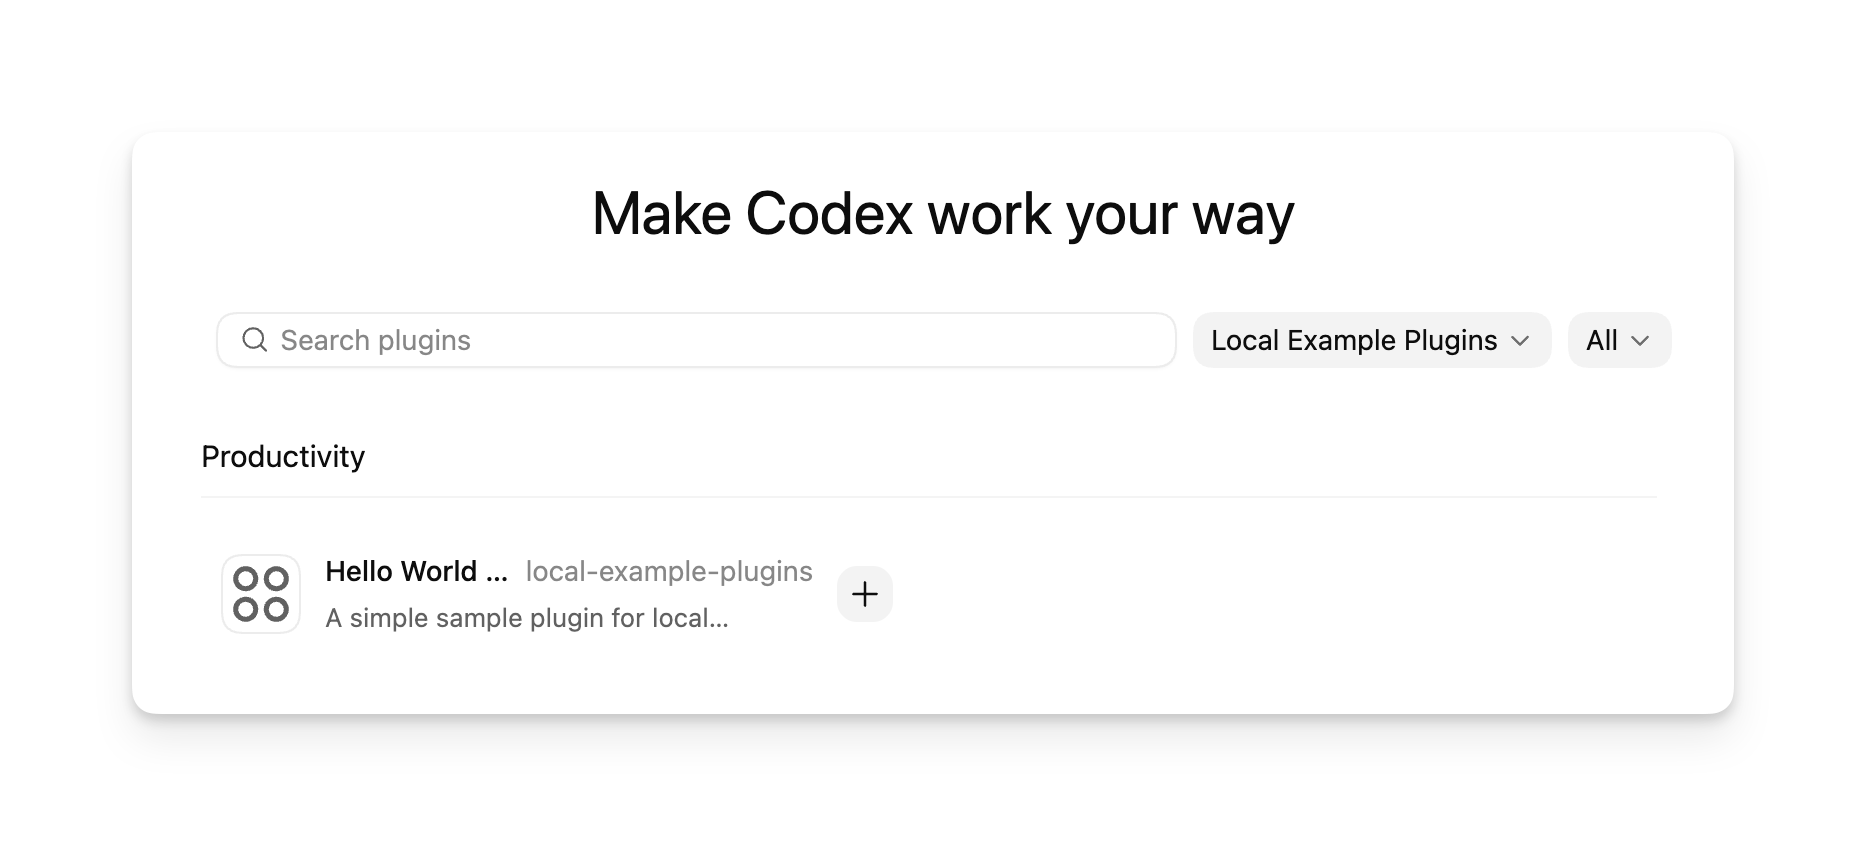
A marketplace is a JSON catalog of plugins. @plugin-creator can generate one for a single plugin, and you can keep adding entries to that same marketplace to build your own curated list for a repo, team, or personal workflow.
In Work mode or Codex in the ChatGPT desktop app, each marketplace appears as a selectable source in the Plugins Directory. Use $REPO_ROOT/.agents/plugins/marketplace.json for a repo-scoped list or ~/.agents/plugins/marketplace.json for a personal list. Add one entry per plugin under plugins[], point each source.path at the plugin folder with a ./-prefixed path relative to the marketplace root, and set interface.displayName to the label you want the plugin to show in the marketplace picker. Then restart the ChatGPT desktop app. After that, open the Plugins Directory, choose your marketplace, and browse or install the plugins in that curated list.
You don't need a separate marketplace per plugin. One marketplace can expose a single plugin while you are testing, then grow into a larger curated catalog as you add more plugins.
Add a marketplace from the CLI
Use codex plugin marketplace add to add and track a marketplace source instead of editing config.toml by hand. These commands support plugin authoring and catalog setup. Use the ChatGPT desktop app to install and test a local plugin.
codex plugin marketplace add owner/repo
codex plugin marketplace add owner/repo --ref main
codex plugin marketplace add https://github.com/example/plugins.git --sparse .agents/plugins
codex plugin marketplace add ./local-marketplace-root
Marketplace sources can be GitHub shorthand (owner/repo or owner/repo@ref), HTTP or HTTPS Git URLs, SSH Git URLs, or local marketplace root directories. Use --ref to pin a Git ref, and repeat --sparse PATH to use a sparse checkout for Git-backed marketplace repos. --sparse is valid only for Git marketplace sources.
To inspect, refresh, or remove configured marketplaces:
codex plugin marketplace list
codex plugin marketplace upgrade
codex plugin marketplace upgrade marketplace-name
codex plugin marketplace remove marketplace-name
codex plugin marketplace list prints each marketplace Codex is considering and the root path it resolves from, including local default marketplaces and configured marketplace snapshots.
Administrators can also define local or Git marketplaces in system config.toml or cloud-managed configuration. These sources use the same marketplace catalog format. See Configure plugin marketplaces and defaults for managed setup guidance and links to the configuration reference.
Create a plugin manually
Start with a minimal plugin that packages one skill.
- Create a plugin folder with a portable manifest at
plugin.json.
mkdir -p my-first-pluginmy-first-plugin/plugin.json
{
  "$schema": "https://agent-plugins.org/schemas/1.0.0/plugin.schema.json",
  "name": "my-first-plugin",
  "version": "1.0.0",
  "description": "Reusable greeting workflow"
}
Use a stable plugin name in kebab-case. Plugin hosts use it as the plugin identifier and component namespace. Portable packages discover skills from the root skills/ directory, so the manifest doesn't need a skills field.